How to solve a whodunit logic grid puzzle, step by step
Updated 30 October 2026
By the Heistgrid team, a small puzzle studio · How we check every case
Read every clue once, place the suspects the clues pin down exactly, then use 'one per row and column' to fill in the rest. The last clue tells you who did it.
What is a whodunit logic grid puzzle?
It's a small map of a scene, cut into squares. Something went missing (a sign, a pie, a set of keys) and a handful of suspects were there when it happened. You don't know where anyone stood. The clues tell you.
If you have met Murdoku, this is the same family: a sudoku-style board where you place suspects on a crime scene, one per row and column. Murdle works differently, with a matching table of who, where and with what. We compare the two in Murdle, Murdoku and placement puzzles explained.
Your job has two parts. First, use the clues to put every suspect on their own square. Then read one last clue, the final clue, which points at the square the culprit stood on. Nobody gets hurt; somebody just has some explaining to do.
It works like a sudoku with people in it. There's always exactly one way to place everyone, and you never need to guess.
What are the rules?
There are only three, and every case uses them.
- One per row and column. No two suspects share a row, and no two share a column. On a 3×3 grid with three suspects, every row and every column holds exactly one person.
- Grey squares are taken. A grey square holds an object, like a bookcase or a cart, so nobody can stand there.
- The top row is the front. "At the front" means the top row, "at the back" means the bottom row. Left and right are as you look at the page.
Which clue should I start with?
Read every clue once before you place anyone. Then start with the clues that say exactly where someone is, or that push someone to an edge: "at the front", "all the way on the left", "in the corner". Those cut the choices down fastest.
Leave the clues that compare two people ("to the left of", "next to") for later. They're much easier once one of those two people is already on the board.
A good habit: after every placement, go back through the clues you skipped. A clue that told you nothing a minute ago often tells you everything now.
Can you show me a worked example?
Here's a small demo case we wrote just for teaching, "The Quiet Please Sign". Follow along step by step; each grid shows the board after that step. Green squares are the ones still possible.
Someone swapped the library's "Quiet please" sign for one that says "Shout please". Three people were in the library: Otto the baker, Mabel the museum guide and Priya the librarian. It's a 3×3 grid and the top row is the front. The returns cart fills the middle spot of the right column: a grey spot, so nobody can stand there.
· front ·
- Priya was at the front of the library.
- Otto was all the way on the left.
- Priya was standing to the left of Mabel.
Final clue: the culprit was standing right next to the returns cart.
· front ·
Returns cartStep 1. Clue 1 puts Priya somewhere in the top row.
· front ·
Returns cartStep 2. Clue 2 puts Otto in the left column, but not in the top row, because Priya has it.
· front ·
 Priya
 OttoReturns cart
 Mabel
Step 3. Clue 3: Priya can't be in the left column (Otto's), so she's top-middle, and Mabel is in the right column. Mabel can't be top-right (Priya's row), and middle-right is the cart, so Mabel is bottom-right. That leaves Otto middle-left.
· front ·
PriyaOttoReturns cartMabelStep 4. Next to the cart (side by side, not diagonal) are top-right, the centre and bottom-right. Only Mabel stands on one of them: Mabel did it.
Notice what happened: two edge clues did most of the work, and "one per row and column" did the rest. The comparing clue only came in once Otto was fixed.
How do pencil marks help?
Sometimes a clue narrows someone down to two or three squares, but not one. Don't guess. Mark them as a maybe in each square they could be in, and move on.
On paper, pencil a small initial in the corner of the square. In our app, select a suspect and tap one of the little corner boxes in an empty square. When you place that suspect for real, their other marks clear away, and you can see straight away which squares are left for everyone else.
Pencil marks also help you spot when a square has only one possible person left. That's often the step that unlocks the whole board.
What are the most common mistakes?
- Counting diagonals as "next to". "Next to" means side by side: above, below, left or right. A square touching only at a corner doesn't count.
- Forgetting a row is already taken. Once someone stands in a row, nobody else can. It's easy to place a second person there by accident, so check the row and column each time.
- Guessing instead of eliminating. If you feel stuck, look for a suspect or a square with the fewest options left. There's always a next step you can prove.
- Skipping the final clue. A full board isn't the answer yet. The final clue is what tells you who did it, so read it carefully against the squares.
- Reading "left of" as "directly left of". "Priya was to the left of Mabel" means Priya is in any column further left. It doesn't mean the square right beside her, unless the clue says so.
Where should I go next?
Start with a Junior Sleuth case to get the feel for edges and rows. When those feel easy, try an Inspector case: they're mostly 4×4 and lean on "who stood next to what", so the objects on the board start to matter.
Want the full rules on one page? See how to play, or browse all cases.
Try it yourself




Want 50 of these on paper?
Our book has 50 cases, from gentle to tricky, with step-by-step solutions at the back. About the book
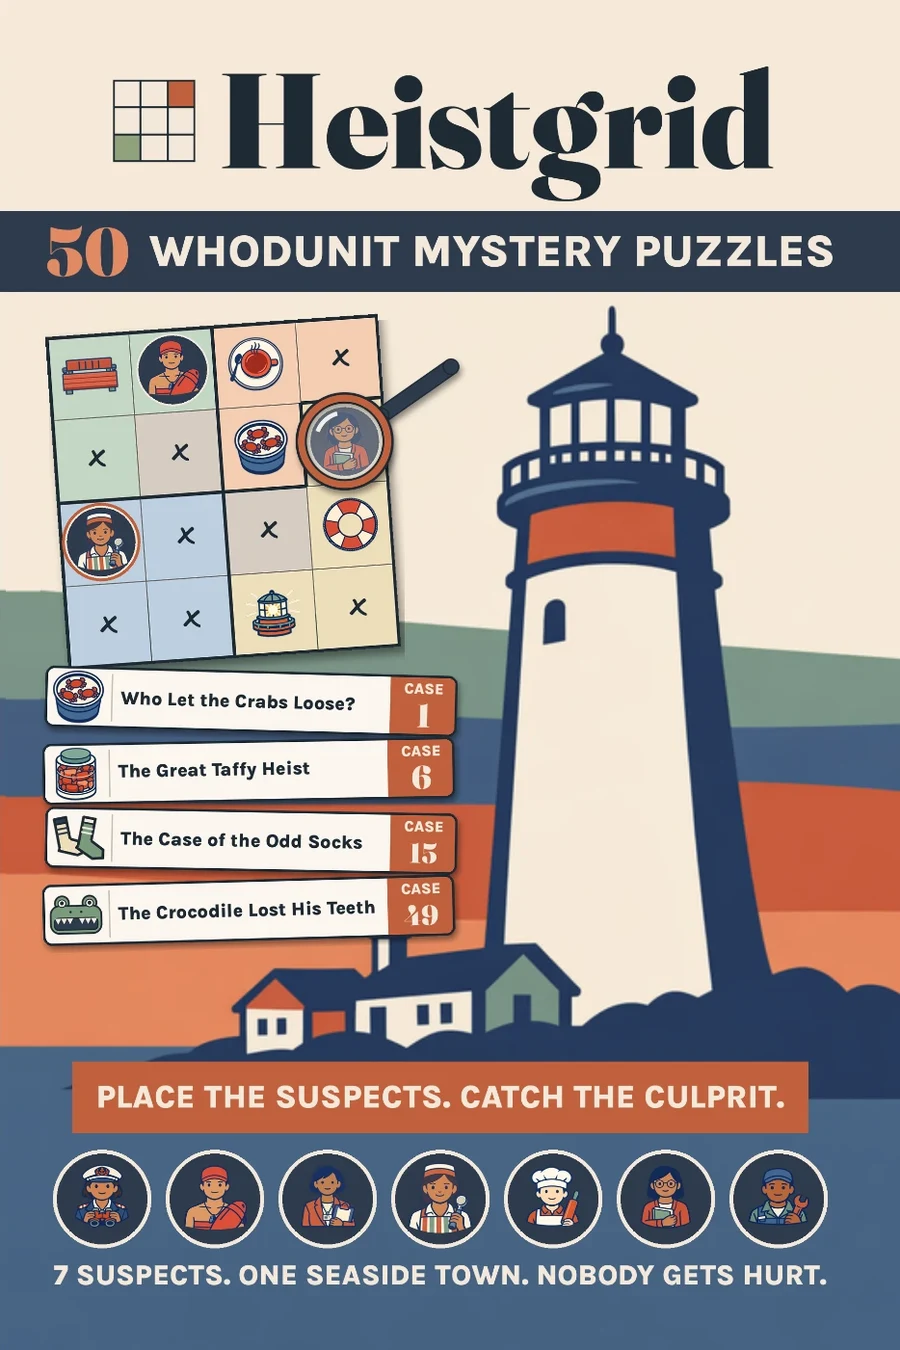
The book: 50 cases, from Junior Sleuth to Master Detective.
Buy the book